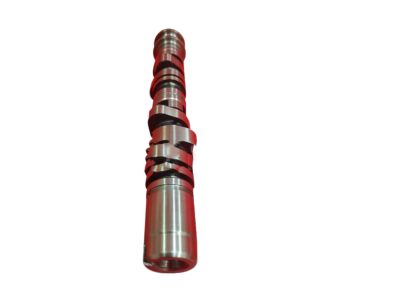
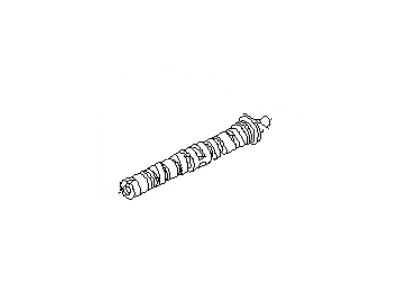
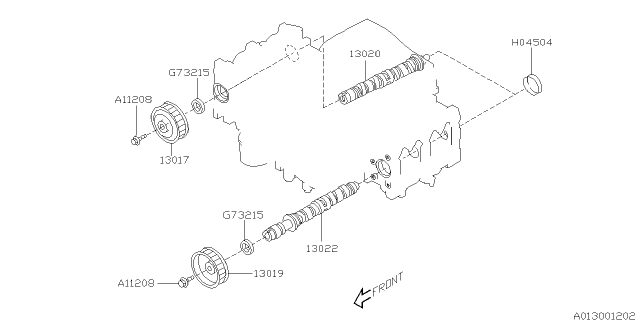
Begin the removal of necessary elements by pulling the inner timing belt covers, crankshaft sprocket along with camshaft sprockets and timing belt. Take off the valve covers followed by removing Camshaft Position (CMP) sensor. For non-turbocharged engines, start gradually loosening rocker arm bolts and secure a special tool onto intake rocker arm assembly thereby locking it in place before lifting it from cylinder head. It is important to keep away all parts orderly. Remove the timing belt tensioner bracket as well as oil dipstick tube and camshaft end cap assembly. In case of turbocharged models, confirm if there are valve clearances then unplug VVT oil control solenoid connectors. These procedures also require you to take out timing belt tensioner bracket; WT oil flow control solenoid's oil pipe; gently loosen intake and exhaust camshaft cap bolts then store all parts in order. If need be, remove valve lifters. Examine lifters and rocker arms; camshaft lobes, journals, bearing caps, pivot points alongside metal-to-metal contact areas for any signs of wear or damage. Measure height of lobe on each camshaft journal's inside diameter and compare this with cambore size across every journal bore on camshafts' internal diameters accordingly replace components that generate more friction than what is needed. Apply lubricant intended for installation of camshafts journals plus lobes within anaerobic sealant added to the cap assembly at its end whereas install them together with rockers' assembly, seals of oil on shafts either side plus plugs at their ends for vehicles without any superchargers or turbochargers while put down valves caring about these ones cheaply bought through online stores right now on behalf of lubrication prior to fitting which has been made possible through proper tightening during manufacturing process as shown below: This means using some grease before fitting lifters so that there is less wear on these parts while installing cams followed by camshaft caps ending with seals near them. Check again whether valve clearances are set correctly. The next step is to insert connectors of VVT oil flow control solenoid. Have camshaft sprockets or actuators fixed and put timing belt then install valve covers afterwards. Finish the remaining installation steps, start up the engine and check whether there is any unusual noise or leaks of oil coming out from it.