×
- Hello
- Login or Register
- Quick Links
- Live Chat
- Track Order
- Parts Availability
- RMA
- Help Center
- Contact Us
- Shop for
- Subaru Parts
- Subaru Accessories


My Garage
My Account
Cart
Additional information needed to check if this part fits
2001 Subaru Impreza
Check another vehicle- Production Date: 200005 - 200011
- Fitting Vehicle Options: MT.EJ22#
Subaru 83281AA010 Clutch Starter Safety Switch
1989-2025 Subaru 83281AA010
Customer Questions & Expert Answers (1)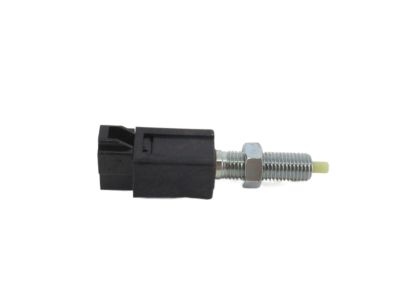
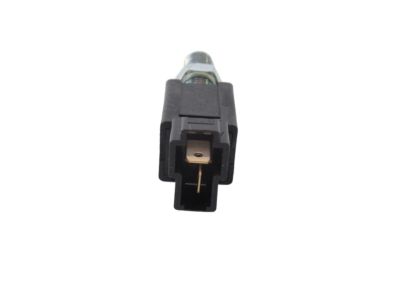
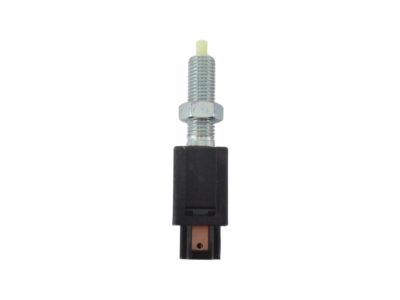
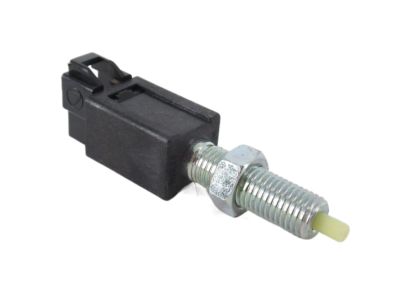
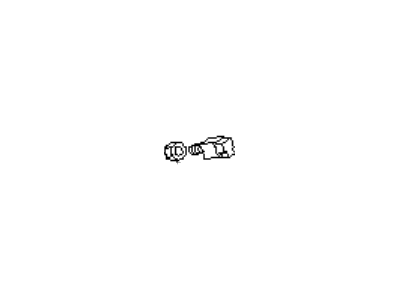
- Part DescriptionSwitch Assembly-Clutch
- Part Code83281*B
- Replaces
- ManufacturerSubaru
- NotesNO.2
Additional information needed to check if this part fits
2001 Subaru Impreza
Check another vehicle- Production Date: 200005 - 200011
- Fitting Vehicle Options: MT.EJ22#
$17.57 MSRP: $25.47
You Save: $7.90 (32%)
Ships in 1-3 Business Days
1
- Related Parts
- Specifications
- Q&A
Product Specifications
Brand Genuine Subaru Part Code 83281*B Manufacturer Part Number 83281AA010 Part Description Switch Assembly-Clutch Item Weight 0.40 Pounds Condition New Fitment Type Direct Replacement Replaces 83281AA011 Manufacturer Subaru SKU 83281AA010 Warranty This genuine Subaru part is guaranteed by Subaru's factory warranty. Shipping & Return Shipping Policy Return Policy Warning: California's Proposition 65Customer Questions & Expert Answers
- Installation & Repair Tips by AI Expert
- Removal steps 1. Park on a level surface, set the parking brake, chock wheels, and remove the ignition key. 2. If access requires lifting the vehicle, raise it with a jack and support securely on jack stands or use ramps; never work under an unsupported vehicle. 3. Disconnect the negative battery terminal and wait a short time before touching electrical connectors. 4. Locate the neutral safety (park/neutral) switch - its exact location varies by design (commonly on or near the transmission or inside the shift assembly). 5. Remove any trim, splash shields, or linkage components that block access; removal steps will vary by layout. 6. Release and unplug the electrical connector(s) from the switch, using a small pick or depress tab if needed. 7. Note or mark the switch orientation and any linkage position or alignment marks so you can reinstall in the same position. 8. Remove the switch mounting fasteners and carefully withdraw the switch from its mounting; the number and type of fasteners vary by design. 9. Inspect the connector and wiring for corrosion or damage and clean or repair as needed before installing the new part. Installation steps 1. Compare the replacement switch to the removed unit to confirm fit and connector type. 2. If the switch is adjustable or uses alignment marks, set it to the same position noted during removal; some designs require a specific indexed position - this varies. 3. Position the switch and install the mounting fasteners loosely so you can fine-adjust alignment if necessary. 4. Reconnect the electrical connector(s) and ensure they fully seat and lock. 5. Tighten the mounting fasteners snugly (follow vehicle-specific guidance for final torque) and reinstall any removed shields, trim, or linkage components. 6. Reconnect the negative battery terminal. 7. With the parking brake applied and wheels chocked, verify starting function: the engine should start only in Park or Neutral and not crank in drive or reverse; also confirm related functions (gear indicator, backup lights) operate normally. 8. If the switch requires calibration or adjustment (some systems do), perform the adjustment per the vehicle's procedure or have it calibrated with a scan tool. 9. Road test the vehicle to confirm normal starting and shifting behavior. Repair tip: Photograph connections and linkage before disassembly, and consider a small dab of dielectric grease on clean electrical pins to help prevent future corrosion.